From time to time I would like to encourage you to brew beer in your own home. First things first: brewing beer is very easy. I have brewed a Christmas Ale to suit the season. I’ve described exactly how it works in the brewing instructions below.
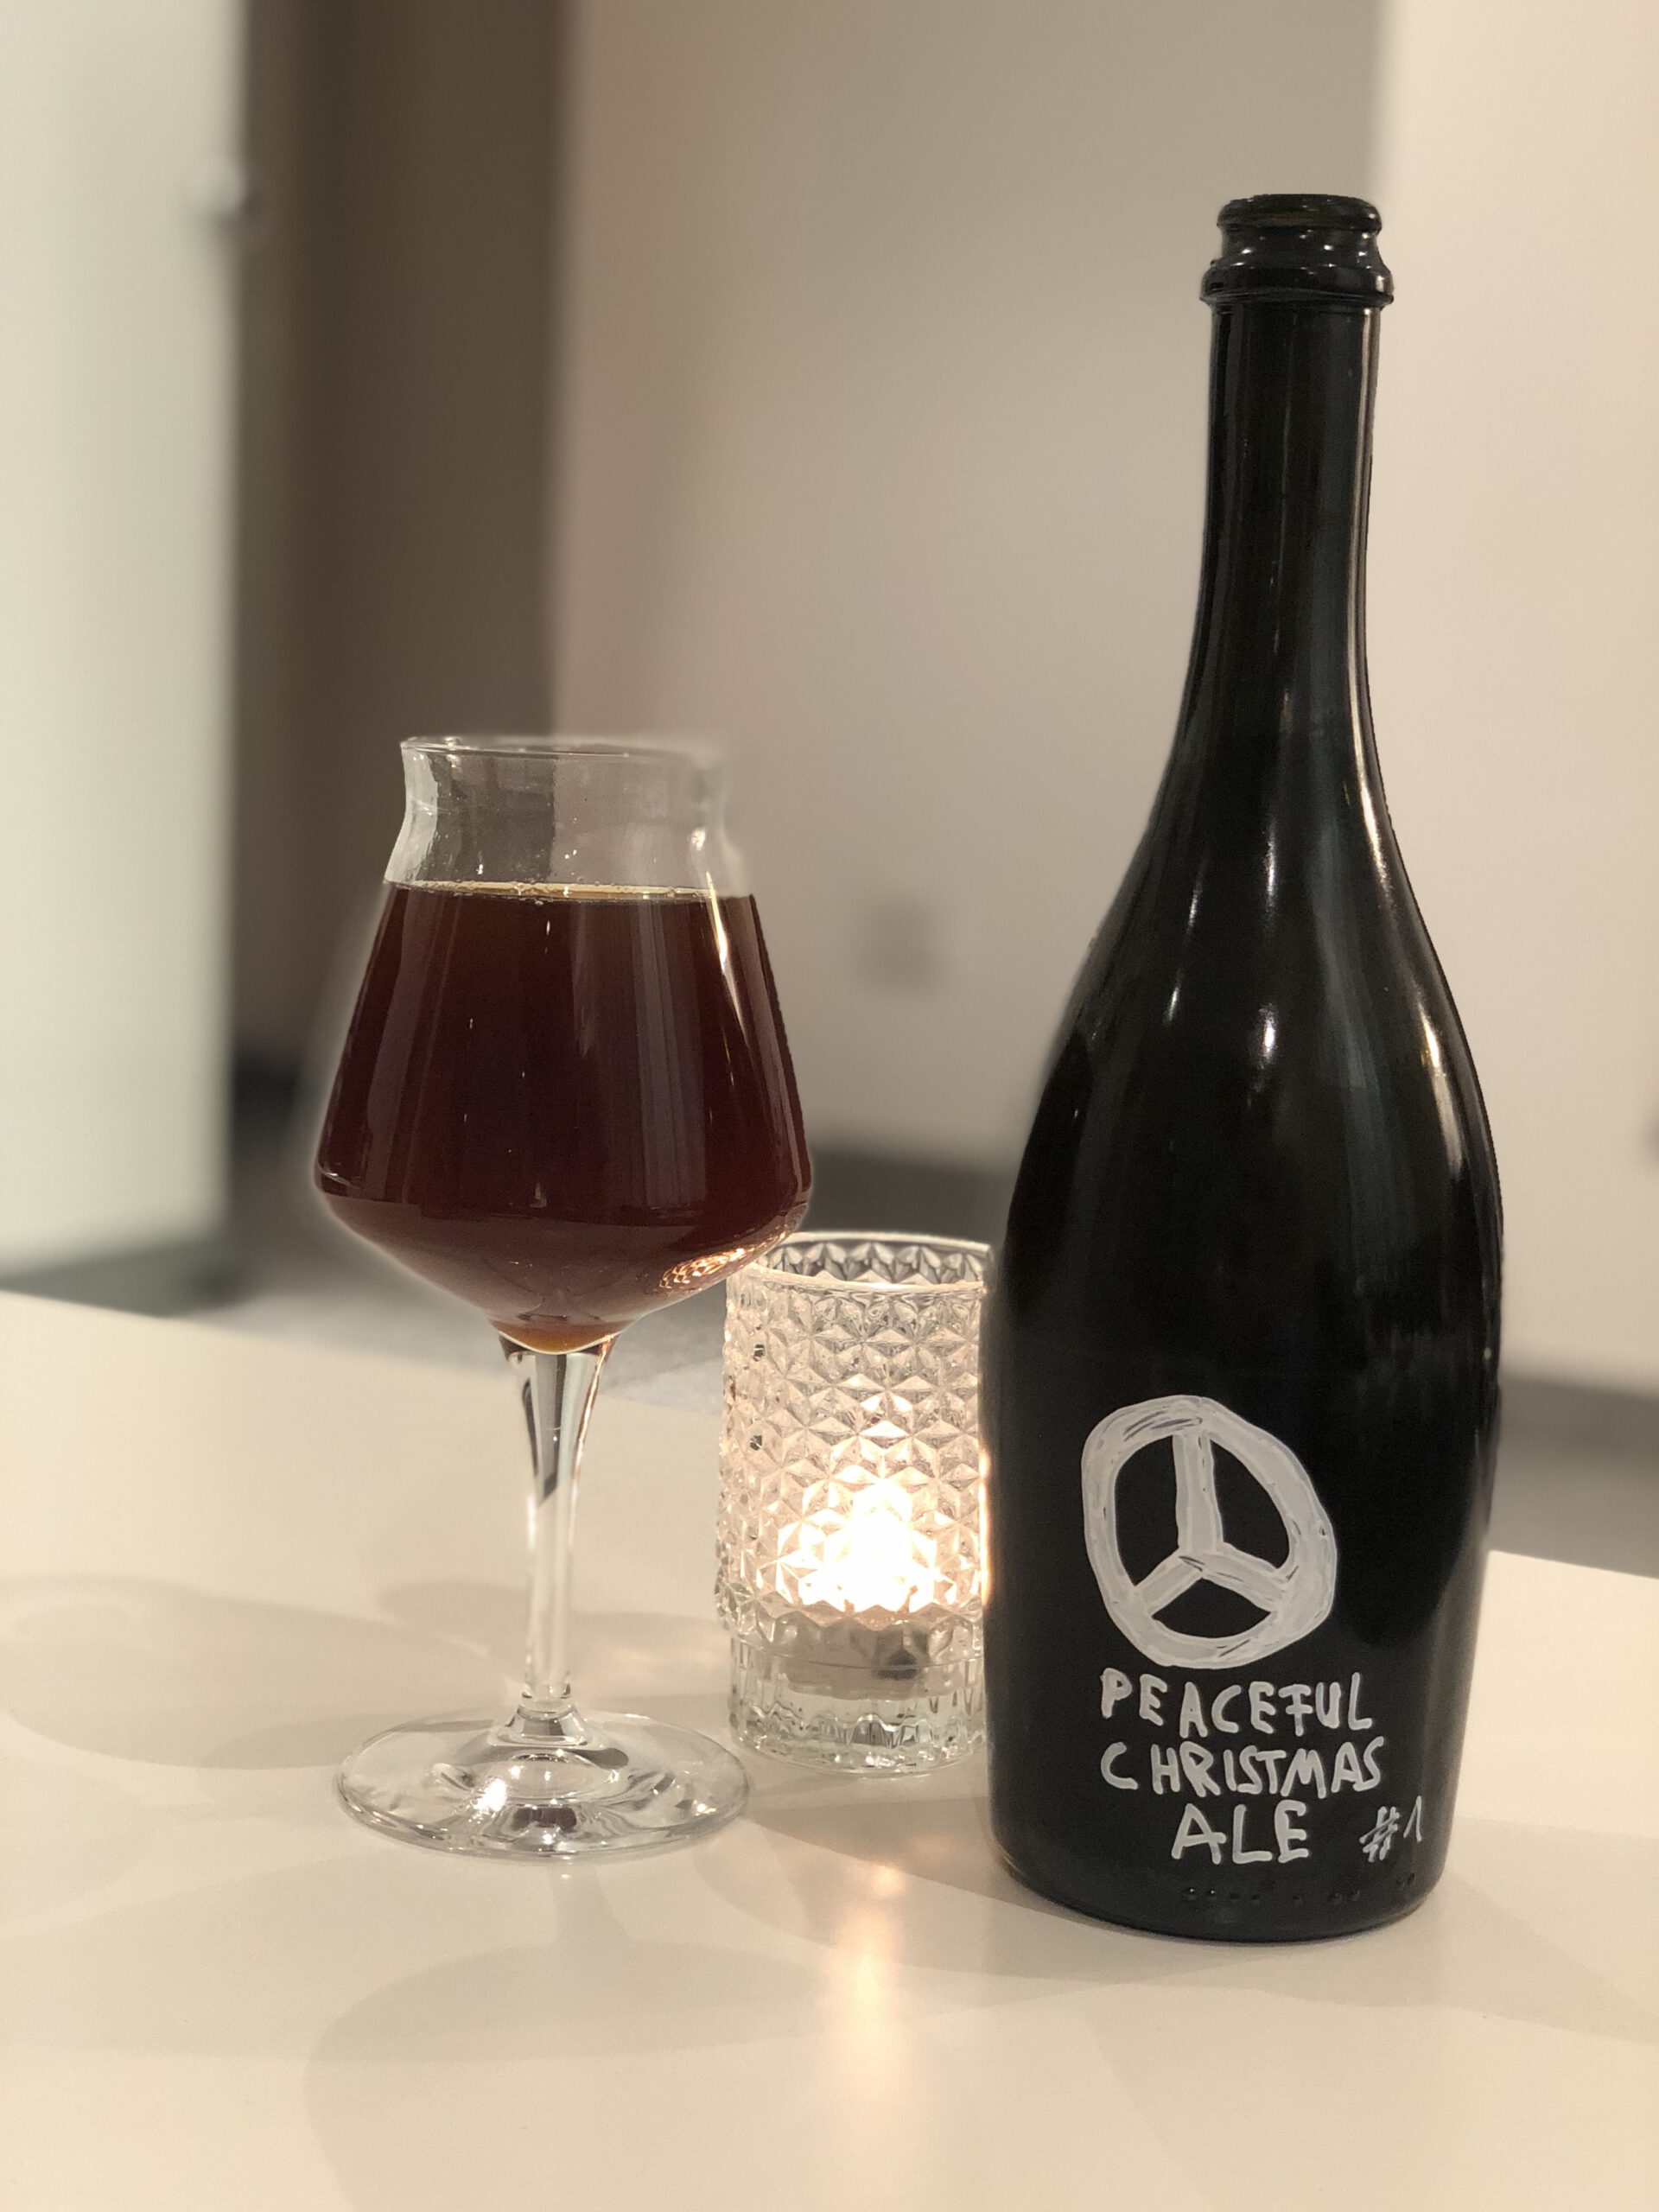
I brewed the Christmas Ale together with my kids. They want to put it under the Christmas tree as a personalised present for their grandfathers. It should be full-bodied, with sweet, malty aromas, caramel and dark fruit, dark reddish in colour. The hops only play a subordinate role here. I tasted the first creation yesterday and can say that it turned out to be a really tasty beer. It tastes excellent and whets the appetite for further brewing experiments under the “Dr Kaiser & Söhne” label.
We have named our home-brewed beer “Peaceful Christmas Ale” and would like to give it a message: I am concerned about current developments in the world. Russia’s ongoing war against Ukraine, the conflict in the Middle East, tensions between the USA and China. I don’t even want to think about the possibility of Trump playing a role again in the next US elections.
Looking at Europe, the influence of radical positions is growing; the recent election result in the Netherlands is just another example of this. Here in Germany, too, society is increasingly drifting apart; the rise of the AfD is sad proof of this. Evonik CEO Christian Kullmann recently issued an urgent warning against the “brown-tinged party” and drew parallels with the Weimar Republic, in which the silence of many favoured the success of the Nazis.
Beer has always brought people together. Craft beer stands for diversity, tolerance and freedom. I hope that we reflect on these values more now and spread them around the world. A peaceful Christmas season everyone; be kind to each other. Cheers!
Brewing instructions:
Ingredients:
1.5kg Munich malt (dark)
0.5kg Carabelge
0.5kg Melanoidin malt
10g East Kent Golding
10g Fuggles
11g S-33 yeast (Fermentis)
Brewing process:
- First I heated 7 litres of water in a 12 litre pot on the cooker in the kitchen to 45 degrees Celsius. Then I added the crushed malt; not directly into the pot, but into a special mash bag. It has to come out of the brew later. I checked the temperature with a simple measuring device at various points in the pot to keep it as constant as possible. After a few minutes, I raised the temperature to around 50 degrees Celsius and stirred regularly for 30 minutes to break down the protein.
- I then raised the temperature to 68 degrees Celsius and kept it there for 1.5 hours, stirring regularly and constantly checking the temperature. The enzyme amylase contained in the malt ensures that starch is converted into sugar. We need the sugar so that the yeast can later convert it into alcohol. To check whether the starch has been converted into sugar, I carried out an iodine test. This involves putting some wort in a bowl and adding a few drops of iodine. If it turns dark in colour, starch is still present and the mashing process needs to be extended a little longer.
- After a successful iodine test, I lifted the mash bag over the pot onto a sieve and poured 3 litres of warm water over the malt and added it to the brew in this way; then remove the malt. This step is also called sparging.
- Now the brew can be brought to the boil. At the beginning of the boiling process, I added 10 grams of the English hop variety East Kent Golding to create a basic bitterness. A magic moment; the brew smells wonderful after adding the hops. For the flavouring, I chose 10 grams of the English hop Fuggels 10 minutes before the end of the boil. The boiling process took a total of one hour.
- The brew must now be cooled to a temperature between 15 and 25 degrees Celsius, as top-fermenting yeasts only do their work in this temperature range. To do this, I put the brew outside on the terrace. The cooling process takes quite a long time. As I brewed in the evening, the brew had to spend the night in the kitchen without me.
- The next morning I checked the temperature of the brew, poured it into a fermentation vat and added the dry yeast S-33 from Fermentis and stirred it in. I had previously dissolved it in some brew. I then placed the fermentation vat in the cellar.
- To my delight, it was already bubbling vigorously during the morning. A good sign, as the yeast converts the sugar into alcohol and carbon dioxide. Fermentation was complete after two days.
- I then passed the beer through a filter into a fresh fermentation vat and added between 5 and 8 grams of dextrose per litre of beer and gave the whole thing a good stir. I then poured the Christmas Ale into beautiful 0.75 litre Birra Carmen bottles and sealed them with a crown cap (29 mm). The grape sugar is then converted by the residual yeast into CO2, among other things, which cannot escape from the bottle and thus accumulates in the beer as CO2. After a week of storage in the cellar, I tasted the beer. It is delicious!
PS: You can easily order ingredients and brewing equipment from various online shops for hobby brewers.